 Our pick
Photo tour with barbecue
With pickup
- Duration
- 3.5 hrs
- Rating
- 4.13 out of 365
- Guide
- English
- Price
- from $137
Guides
Language
EnglishCurrency
US dollar · $GetYourGuide shows its prices in the currency you pick.
Guide · Photography
With a tripod, open aperture and a few starting values, the green shimmer becomes a photo you are happy to show. Here you will find settings, equipment and photo tours from Rovaniemi.
Editorial rovaniemipolarlichter.deUpdated on October 3, 20266 min read8 sources
In short
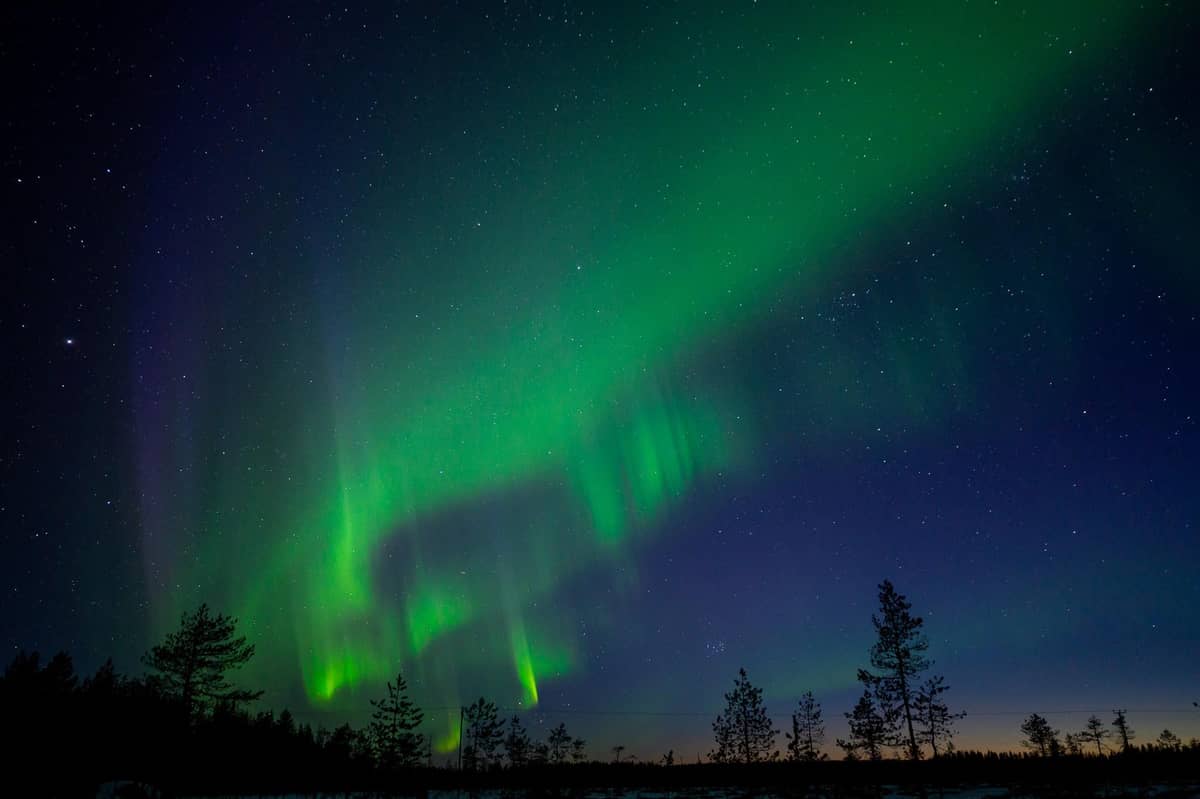
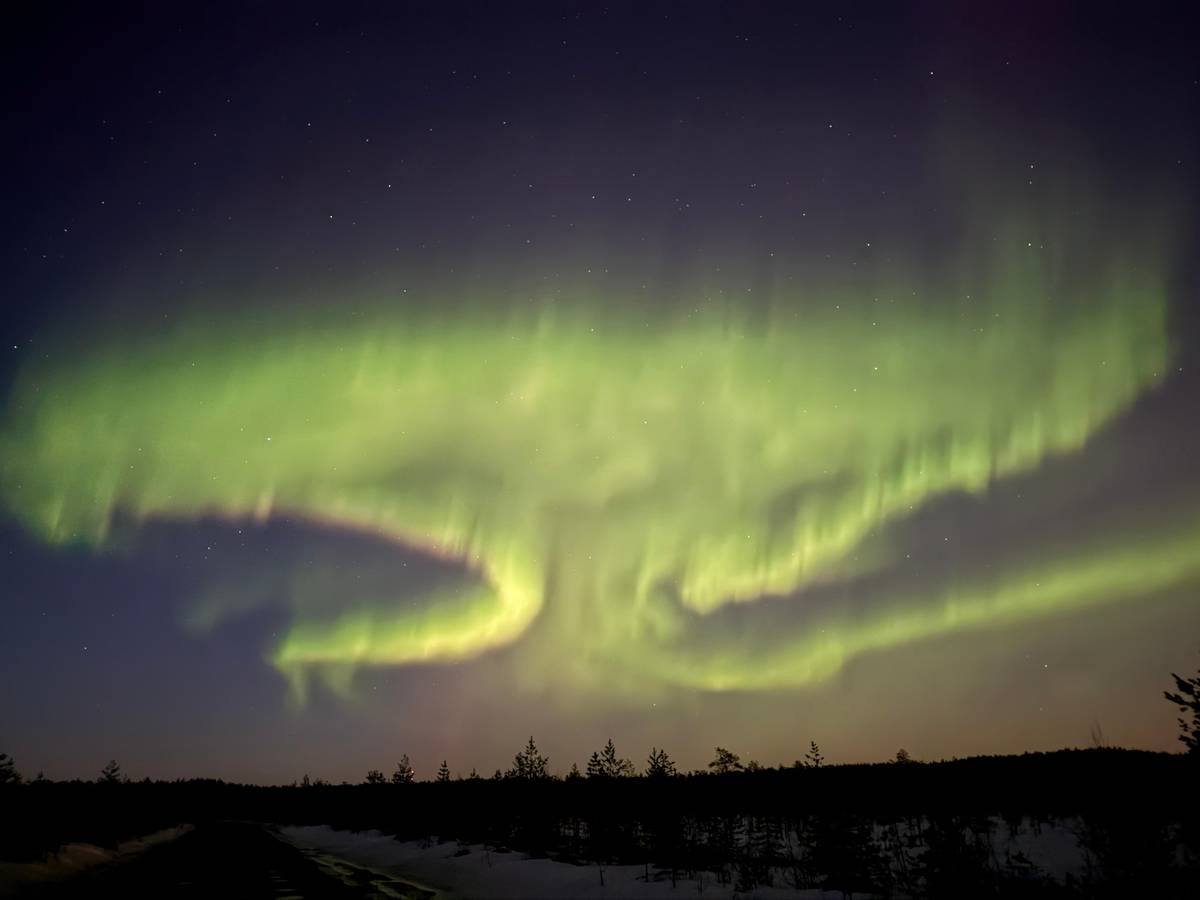
An aurora that looks faint and grey to your eyes outdoors often glows vivid green in the photo. This happens because of the long exposure: the camera gathers light over several seconds and captures colors your eye can barely distinguish in the dark. For you, that means you do not have to wait for a spectacular display to bring home a beautiful picture.
To make this work, the camera needs three things: stillness, plenty of light per shot, and sharp focus. Stillness comes from the tripod, light from a wide-open aperture, high sensitivity, and a long exposure, and sharpness from a focus you set by hand. Auto modes struggle at night because they cannot find a point to lock focus on in the dark.
Rovaniemi is a good place to practice. The city sits on the Arctic Circle, and according to Visit Finland, the northern lights appear in northern Finland on around 200 nights a year.23 If you plan for a few evenings, you will have several chances to try out your settings and improve with each attempt, without hanging your whole trip on a single night.
Photo night
In the afternoon
Charge batteries, empty the memory card, and mark focus at infinity in daylight.
Early evening
On the Finnish Meteorological Institute website you can see how active the sky is.4
On site
Starting values: 5 to 15 seconds, open aperture, ISO 800 to 3200.1
Later evening
In Finland mostly between 9 p.m. and 2 a.m.5
Back in the Warm
Let it warm up slowly in a closed bag so nothing fogs up.
Visit Rovaniemi gives clear starting values: expose for about 5 to 15 seconds, open the aperture as wide as it goes, that is the smallest f-number on your lens, and try ISO values between 800 and 3200.1 With these values you take a first test shot and zoom in on the display so you can really judge focus and brightness.
If the image is too dark, first lengthen the exposure and then raise the ISO. If the light moves fast and the bands dance across the sky, drop the exposure, otherwise the fine structures blur into a green wash. During a bright burst you can stay at the lower end of the ISO range, during a faint shimmer you will need the upper end sooner.1
Set the camera to manual mode and shoot in RAW if you can. This lets you adjust white balance and brightness later on the computer without losing quality. Set the white balance to a fixed value by hand so that every picture does not end up with a different color. Turn off the image stabilizer on the tripod, otherwise it can introduce blur on its own.
Reviews
Settings
| Conditions | ISO | Exposure | Aperture |
|---|---|---|---|
| Faint shimmer | rather 3200 | rather 15 sec. | fully open |
| Strong, fast light | rather 800 | rather 5 sec. | fully open |
| In between | 800 to 3200 | 5 to 15 sec. | fully open |
Starting values based on the photo tips from Visit Rovaniemi; test them and adjust them to the brightness of the aurora.1
Photo Tours
Our pickWith pickup
 Finished photos
private or small group
 Budget
longer night
Decision helper
What matters to you when photographing?
Around 3.5 hours with pickup, focused on photography.
Six hours, bookable privately or in a small group.
from $101, with 4.85 out of 2,529 reviews.
Eight hours, maximum eight guests, the guide photographs for you.
Within walking distance from the center, with elevated viewpoints.6
Start with an exposure time of about 5 to 15 seconds, use the largest available aperture, that is the smallest f-number, and try ISO values between 800 and 3200, depending on the brightness of the aurora.
A common reason for unusable aurora photos is blurry focus. Set it during the day on a distant object and mark the position with a strip of tape on the lens. At night, check it on a bright star: zoom in on the live view and turn the ring slowly until the star becomes a small, sharp point.
The tripod must stand firm in the snow. Push the legs deep into the snow and hang your bag from the center column as a weight if you can. Using the self-timer or a remote release keeps the camera from shaking when you press the shutter. In winter the average temperatures in Rovaniemi sit between minus 10 and minus 20 degrees, and your batteries feel that first.7
Cold drains batteries faster than you think. Keep spare batteries in an inner pocket close to your body; swap them before your camera dies. After the night, pack the camera still outdoors in a closed bag and let it warm up slowly indoors. This prevents condensation, and no moisture gets into the housing or between the lenses of your camera.
Equipment
Cost calculator
Compare what the photo tours cost you together.
Total from$274
from per person $137
Check availabilityfree cancellationDeparture prices according to GetYourGuide, converted at the ECB reference rate. The exact price is shown when you book.
Video
The video only loads when you tap Play.
Modern phones have a night mode that combines several shots into one image. For a quick souvenir that often works surprisingly well, especially if you place the phone on a small tripod or a solid surface instead of holding it in your hand. The night mode reaches its limits with fast-moving light and with pictures you want to print large later.
A camera with a manual mode and a fast wide-angle lens gives you more control. You set the exposure, aperture, and ISO yourself and can adjust the starting values from Visit Rovaniemi to match the light.1 If you do not want to bring your own gear or prefer to be in the picture yourself, book a tour where someone else handles the camera.
On the northern lights tour listed here, the guide doubles as photographer for the guests, and with at most eight guests there is time for pictures of you in front of the sky. It lasts eight hours and starts from $228. For your own experiments, a small tripod in your luggage is still worth it so you can try things out in between.
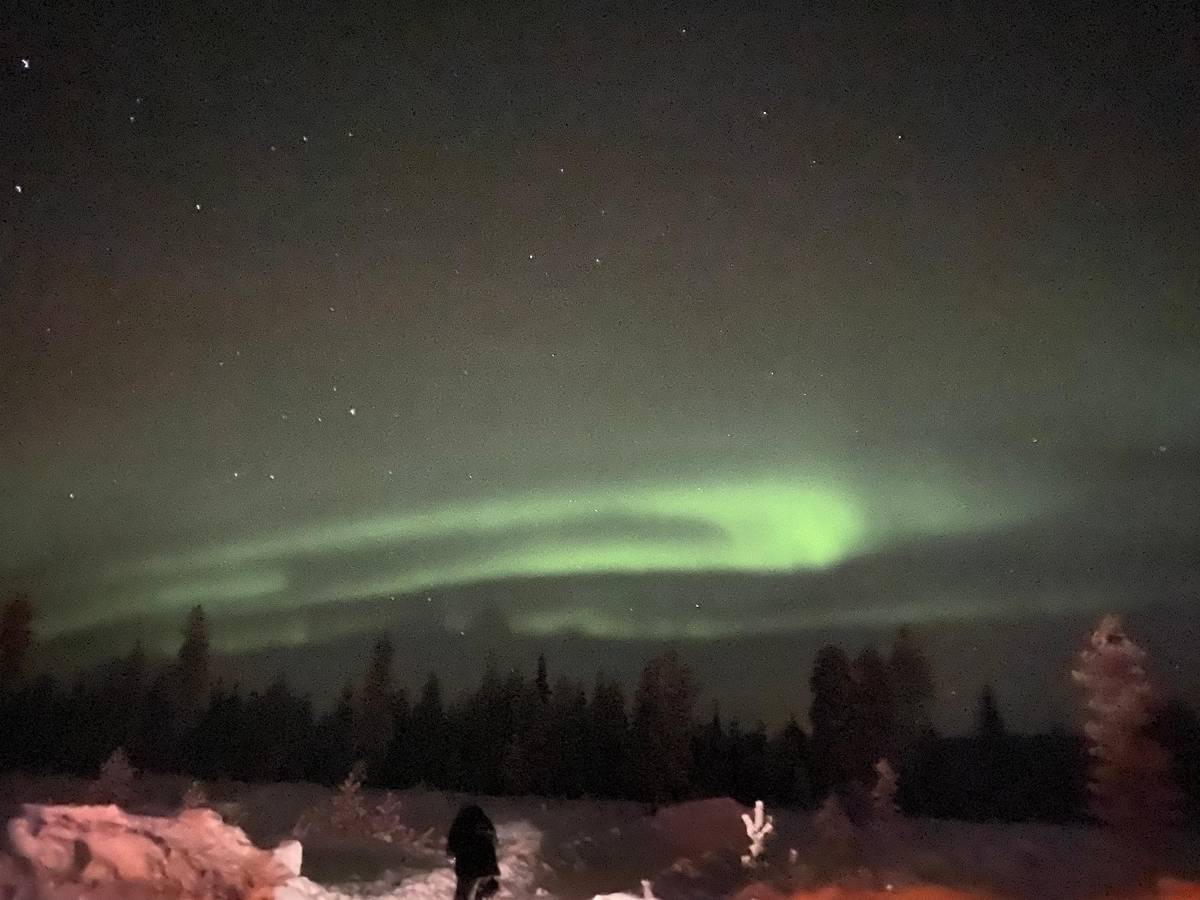
The photo tour with grilling is built around photography: it lasts 3.5 hours, includes pickup, and has a live guide in English. It starts from $137 per person and is rated 4.13 out of 365 reviews. If you want to learn technique and practice at your own pace, it is our pick on this page.
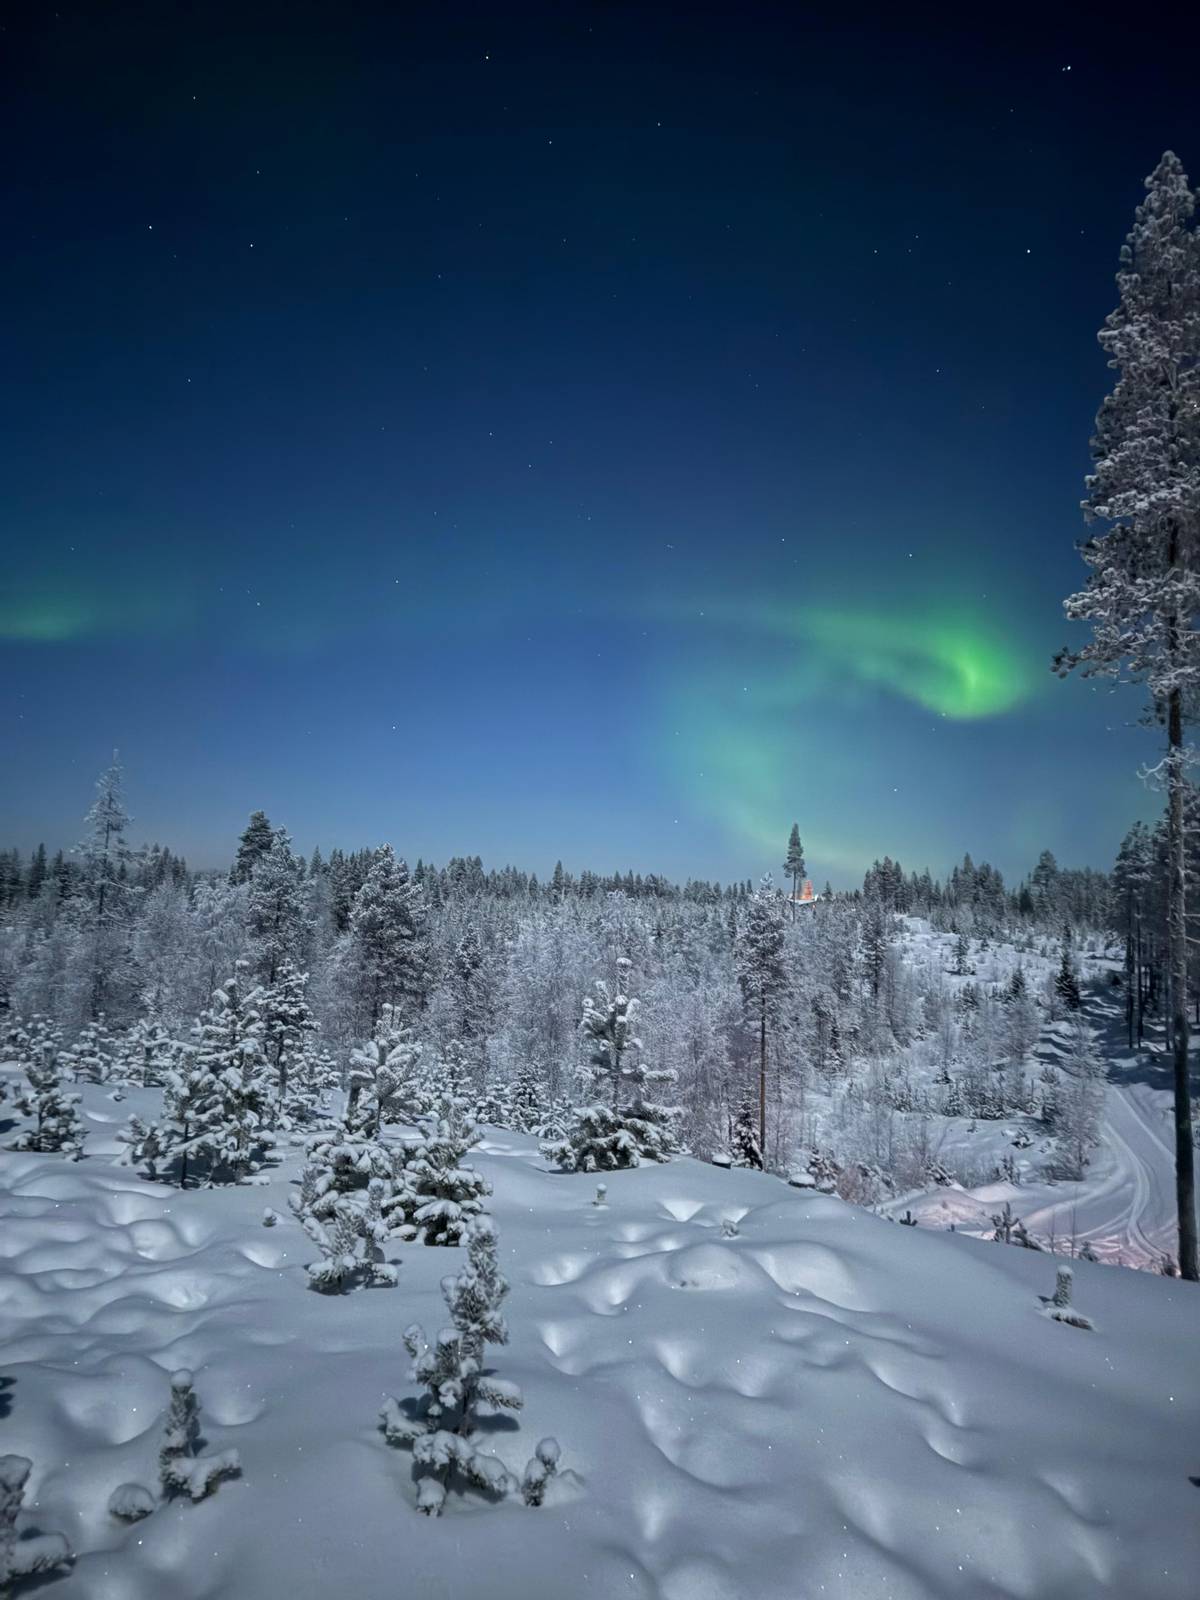
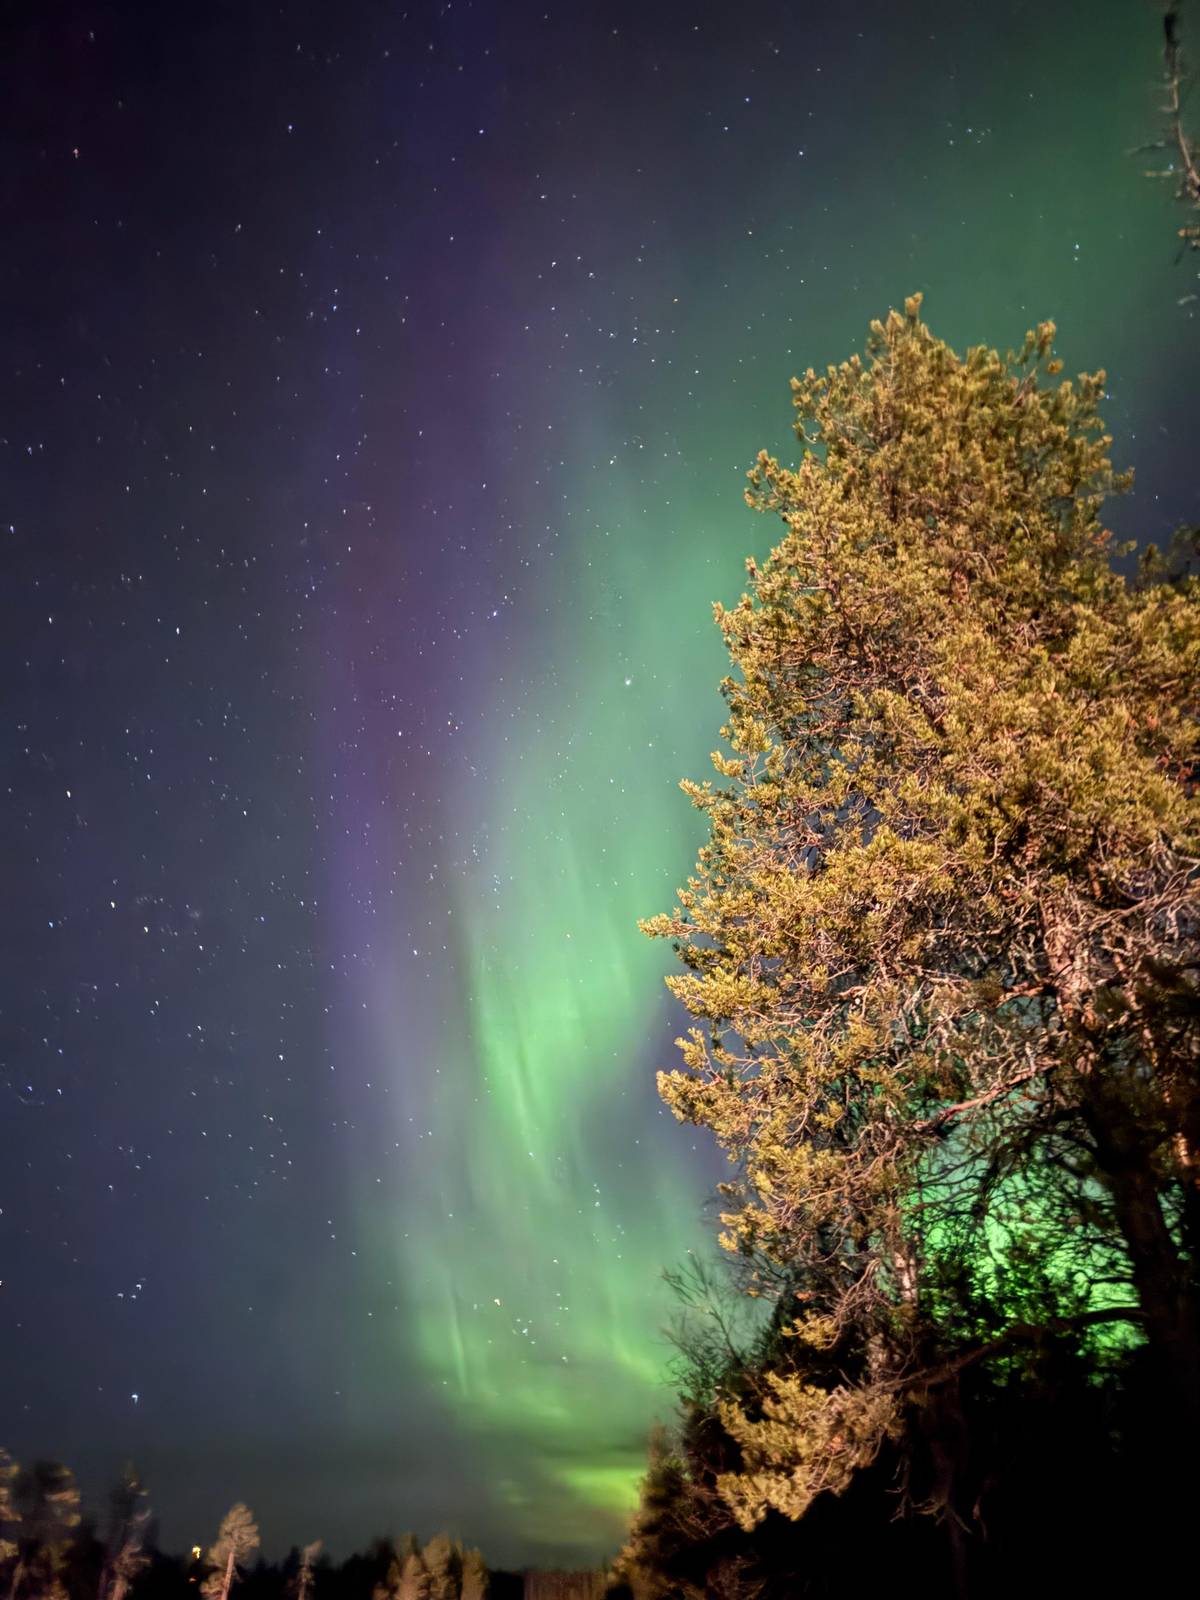
If you would rather bring finished home pictures, look at the tour with professional photos. It lasts six hours, can be booked as private or small group, and starts from $134. A more affordable alternative with photos in your name lasts 5 to 8 hours and costs from $101, rated 4.85 out of 2,529 reviews.
Which tour you choose depends on whether you want to shoot yourself or be shot. For your own pictures you need time at a spot with an open sky, for souvenir photos you need a guide with a camera and a bit of patience. The northern lights tour on this page combines both in a small group, but it costs more than the other options in the comparison.
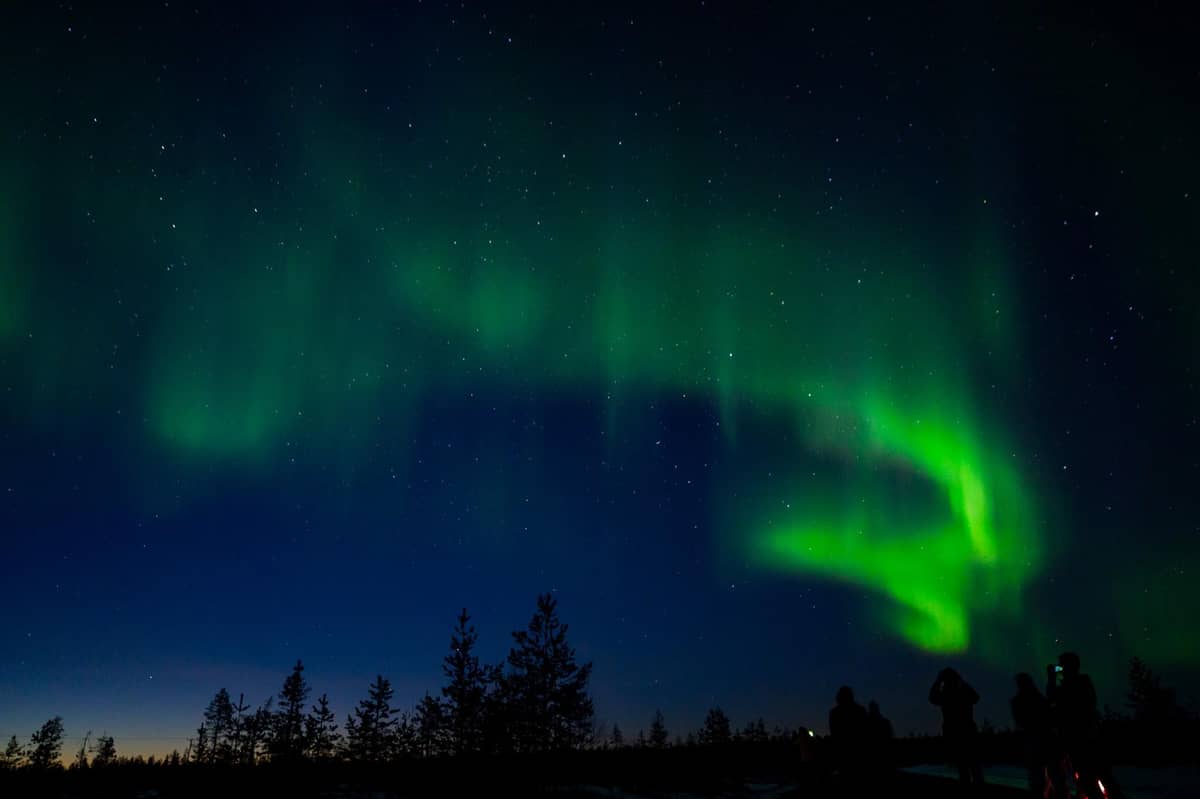
An aurora picture comes alive with a foreground. Snow-covered pines, a frozen lake, or a person with a headlamp give the green sky scale and a sense of place. According to Visit Finland, even a short walk out of Rovaniemi is enough, for example to a frozen lake or an open fell, to find a dark sky.8
Patience pays off timing-wise. In Finland the best window usually falls between 9 p.m. and 2 a.m.5 Set up early, take test shots of the starry sky, and be ready when the show starts. An outburst can be over in just a few minutes, and then it counts that the camera is already set and the focus is locked.
If people are in the picture, ask them to stand perfectly still for the duration of the exposure and briefly light their face with a weak lamp. That way the face is visible without the sky washing out. Check the result right away and correct while the light is still there and the moment has not passed.
Back in the warmth, the second part of the work begins. Let the camera reach room temperature in the closed bag first before you remove the memory card. Then go through the images at your computer and delete the blurry and shaky ones right away. What remains is often less than you hoped for outdoors, but at least they are the right ones.
In editing, less is more. A bit more contrast, an adjusted white balance, and a light noise reduction are usually enough. If you push the saturation too far, the green quickly looks artificial. The sky over Lapland looks most beautiful on your photos when it still looks the way it did on the night you experienced it.
After each night, note down the settings that worked and the situations where they did not fit. On your next outing you will then set up faster and miss fewer shots. Because an outburst is often short, this routine is well worth it. After a few evenings in Rovaniemi you will notice how confident you have become with camera and tripod in the dark.
Book the tour
Reserve now, pay later, and cancel free of charge up to 24 hours before the start.
5 to 15 seconds, wide-open aperture, ISO 800 to 3200. These are the starting values from Visit Rovaniemi; you adjust the ISO depending on the brightness of the aurora.1
Yes, for long exposures. With exposures of several seconds, every handheld shot blurrs; a tripod or solid surface is a must.
For souvenir photos, often yes. The night mode of modern phones combines several shots; on stable ground these produce decent images.
Mostly late in the evening. In Finland the best window is mostly between 9 p.m. and 2 a.m.5
From $137 per person. The photo tour with dinner lasts 3.5 hours and includes pickup.
Keep them close to your body. Spare batteries stay warm in an inner pocket; swap them before the camera gives up.
Yes, on this tour page. The guide of the northern lights tour also serves as photographer for the guests, in a group of at most eight people.
Sources
Read more